logo

How Do You Bring a Custom Product to Life?

Go behind the scenes with engineer David Willson as he takes you through the process of designing, prototyping, and manufacturing a custom multi-tool—with the help of Fictiv.

Trusted by 5,000+ Leading Companies

FictivMade

Introduction

Built by Fictiv Engineers. Manufactured by Fictiv

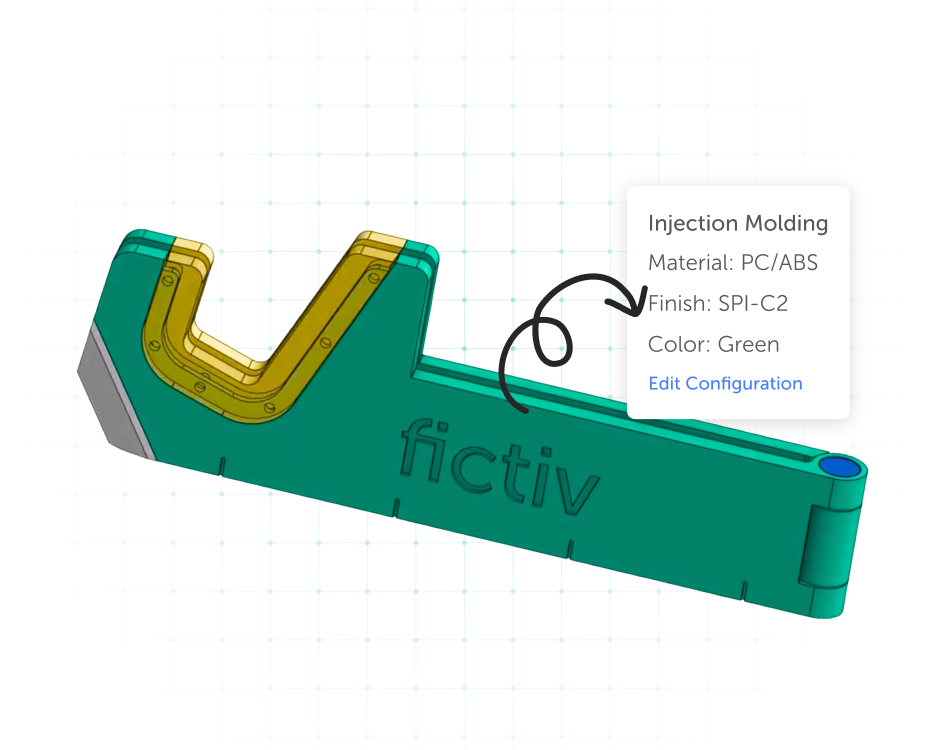
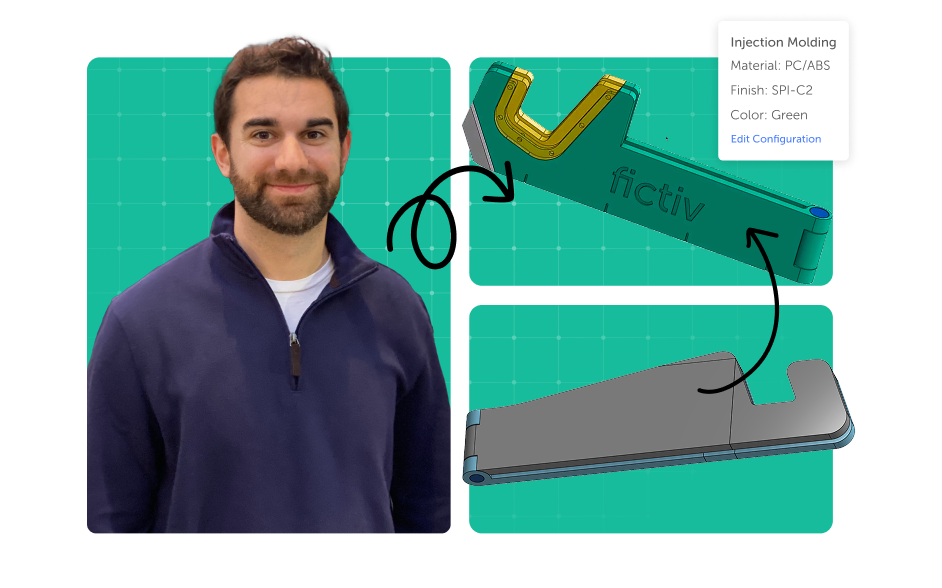
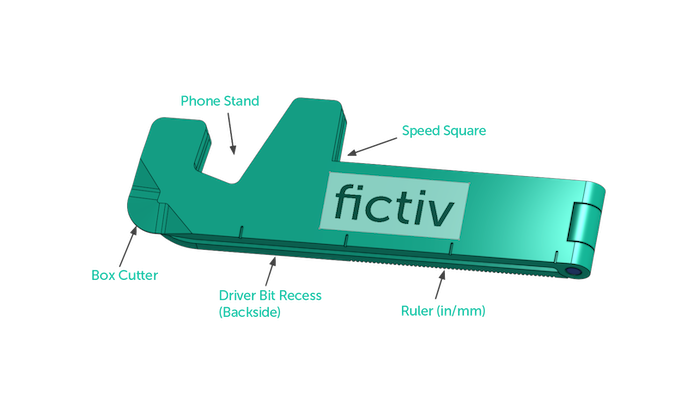
Fictiv engineer David Willson utilizes 3D printing, CNC machining, insert molding, and overmolding to create a custom phone stand and multi-tool.


This real-world case study shows how to turn an idea into reality, with every design and process decision explained along the way.

Built by Fictiv Engineers. Manufactured by Fictiv thumbnail

Laying the Groundwork

Concept Development

Where do good product ideas begin? 


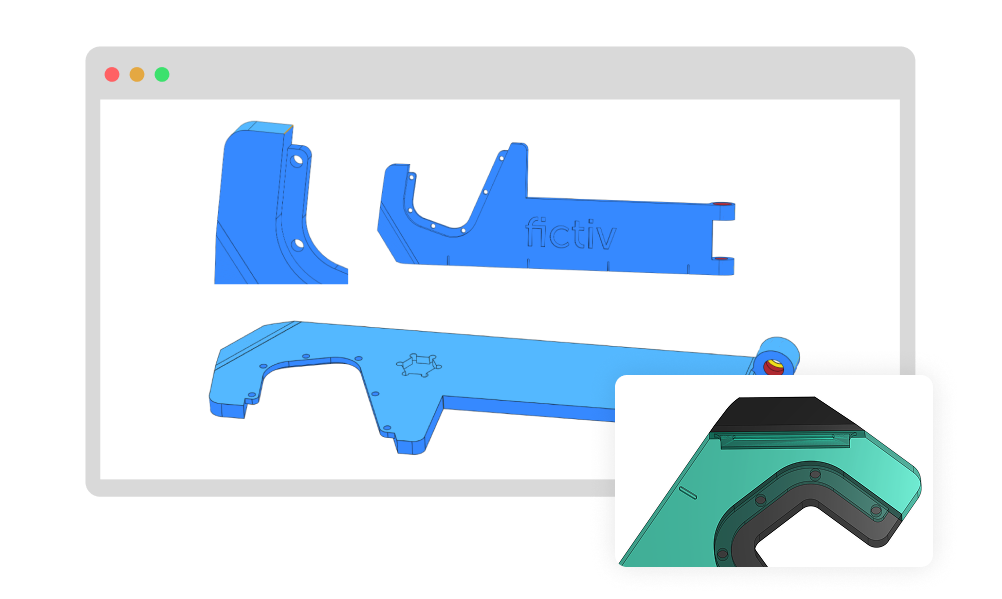
Get an inside look at the early design process—starting with brainstorming, rough hand sketches, and early CAD models. David reaches a prototype-ready design by exploring form factors, gathering inspiration from real-world products, and defining the basic geometry of a compact, multifunctional tool. 


From pencil to parametric modeling, this stage lays the groundwork for smart decisions around fit, usability, and manufacturability.


Episode 1 : Concept Development

Read Article

Concept Development thumbnail

Testing the Concept

Prototyping and Design Iteration

How do you turn a concept into something usable? 


In this stage, David puts the design to the test with 3D-printed prototypes and starts applying early Design for Manufacturability (DFM) principles. Follow his process as he evaluates part performance, identifies where plastic falls short, and explores improvements.


Through hands-on testing and iteration, the design evolves to balance functionality with the realities of manufacturing constraints—refining the prototype into a production-ready design.


Episode 2

play icon Watch Video

Prototyping and Design Iteration thumbnail

Getting Real for IM

Design for Injection Molding

How do you turn a working prototype into something manufacturable for production? 


In this stage, David refines the design for injection molding. You'll follow his process as he evaluates material selection and DFM, and explores improvements like metal inserts and overmolded grips.


Learn about common DFM features to account for with injection molding, including draft, wall thickness, and ribs.

Read Article

Design for Injection Molding thumbnail

Detailed Design for IM

Overmolding and Insert Molding

How do you prepare a multi-material product for injection molding? 


In this stage, David breaks out the design into three materials, with a metal insert-molded segment for the box cutter, and TPU overmold to add grip to the phone stand segment.


See how he accounts for wall thickness and material flow as the components will bond together in the mold. This phase will cover a detailed explanation and analysis of insert molding and overmolding.


Episode 3

play icon Watch Video

Overmolding and Insert Molding thumbnail

Instant Quoting and DFM Feedback

Quote on Platform 

How do you quickly check that the design and price is right? 


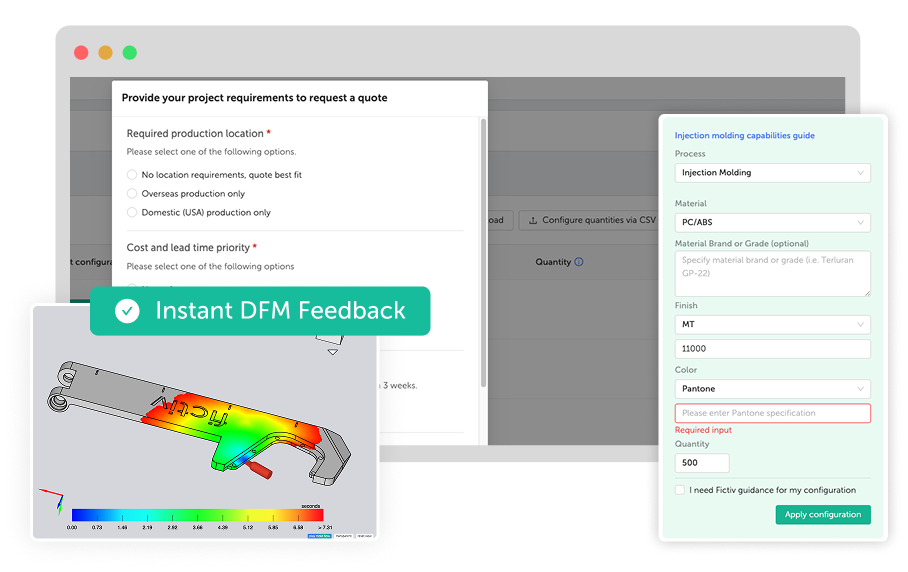
Discover how the Fictiv platform gives you instant quote feedback alongside automated DFM analysis as David walks through the process.


See how project requirements were set and parting lines, wall thickness, draft, and undercuts were checked to catch issues early.

Read Article

Quote on Platform  thumbnail

Deep Dive Into Manufacturing Readiness

Detailed DFM Analysis

How do you confirm the design is ready for manufacturing? 


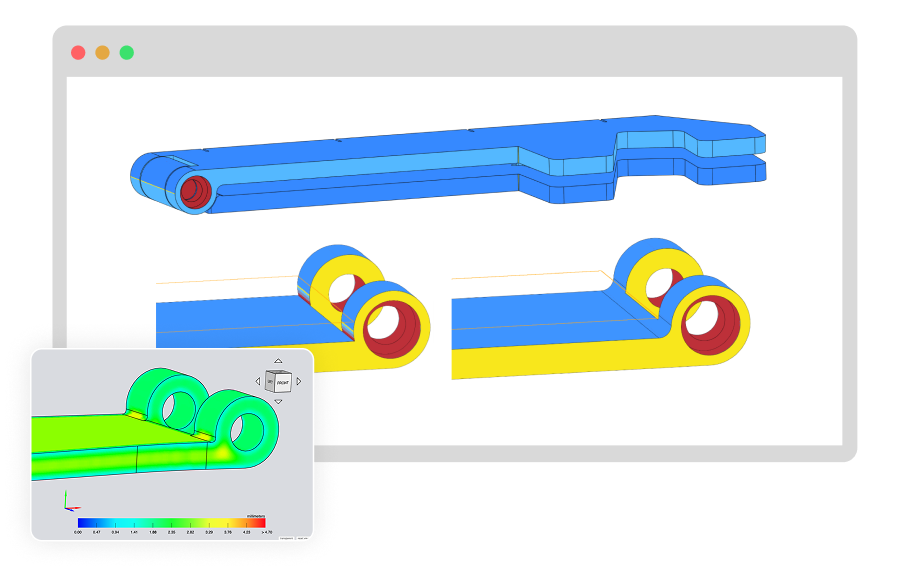
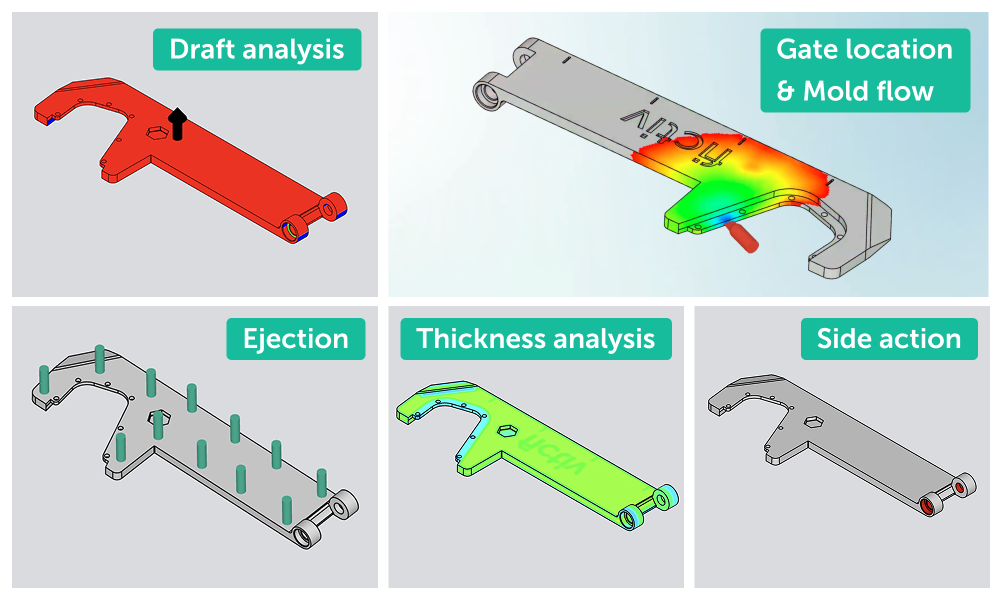
After submitting the quote, this segment walks you through nuanced decisions like gate selection, mold flow simulations, weld line issues, and detailed elements like thin features and logo treatment. 


David explains DFM considerations and design change decisions in this final step before the mold is made.


Episode 4

play icon Watch Video

Detailed DFM Analysis thumbnail

How a Mold is Made

Inside the Tooling Process

How does an injection mold get created? 


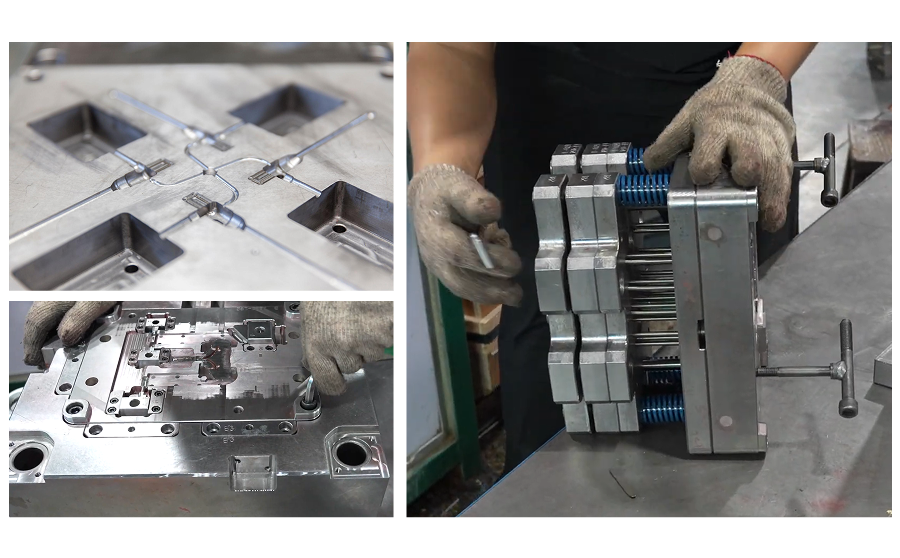
Take a look behind the curtain of an injection mold’s creation: tool design, material choice, CNC machining, EDM detailing, component integration, and everything in between.


A step-by-step guide through tooling execution with considerations for mechanical designers and manufacturing engineers.

Read Article

Inside the Tooling Process thumbnail

Perfecting the Multi-Tool Phone Stand

Mold Trials and Revisions

How do you get from first sample to final product? 


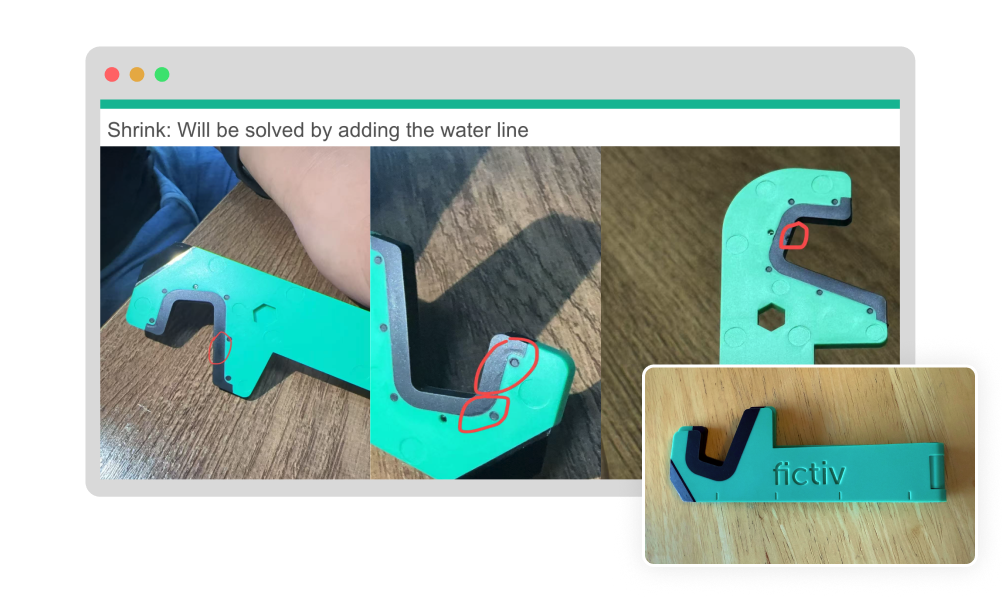
The mold is built, but the work isn’t over. In this phase, we put our injection mold through sequential trials to identify and resolve real-world manufacturing challenges, including hinge looseness, weld lines, and flash. 


Through rapid overseas collaboration and tooling adjustments, we refined every detail for production-ready quality. See how early sample evaluation saves time, reduces costs, and ensures flawless final parts.

Read Article

Mold Trials and Revisions thumbnail
bg

Ready to Bring Your Own Idea to Life?

Turn your concept into a manufacturable reality with expert design support and a global supply chain built to scale.


Whether you’re in the ideation phase or already prototyping, we’re here to help you navigate design challenges, select the right manufacturing processes, and get to market faster.

A Few Ideas for Inspiration

1

Custom Caliper Holder or Tool Dock

Design a holder for digital calipers, micrometers, or other tools to keep them organized. Test fits and mounting styles to fit your workspace.

2

Ergonomic Tool Grip

Redesign the grip of a hand tool, like a screwdriver or hobby knife, for better comfort and control. Test different contours, textures, and finger grooves.

3

Cable Management System

Create a modular cable organizer for your desk or workshop. Test clip mechanisms, snap fits, and routing channels to keep cords tidy.